Monday
While mindlessly scrolling through Facebook, I cam across this crazy video from a amusement park. It was spinning if few axis and directions.
At first glance it gave me an idea of how we can use the servo, to move shapes in few different directions that are within each other. The important part was to remember to exclude the symbolism to real life things. Oh and also physics. How are we going to create an object that will be inspired by this look.
One problem that we faced, was with the physical side of the project. One important thing slipped my mind was the fact that servos have wires. So putting them on a spinning frame was not an option. Through the process of sketching we explored the possible ways of placing the servos and how would they work the best. We still wanted to keep the symmetric look of the object while expressing feedback.
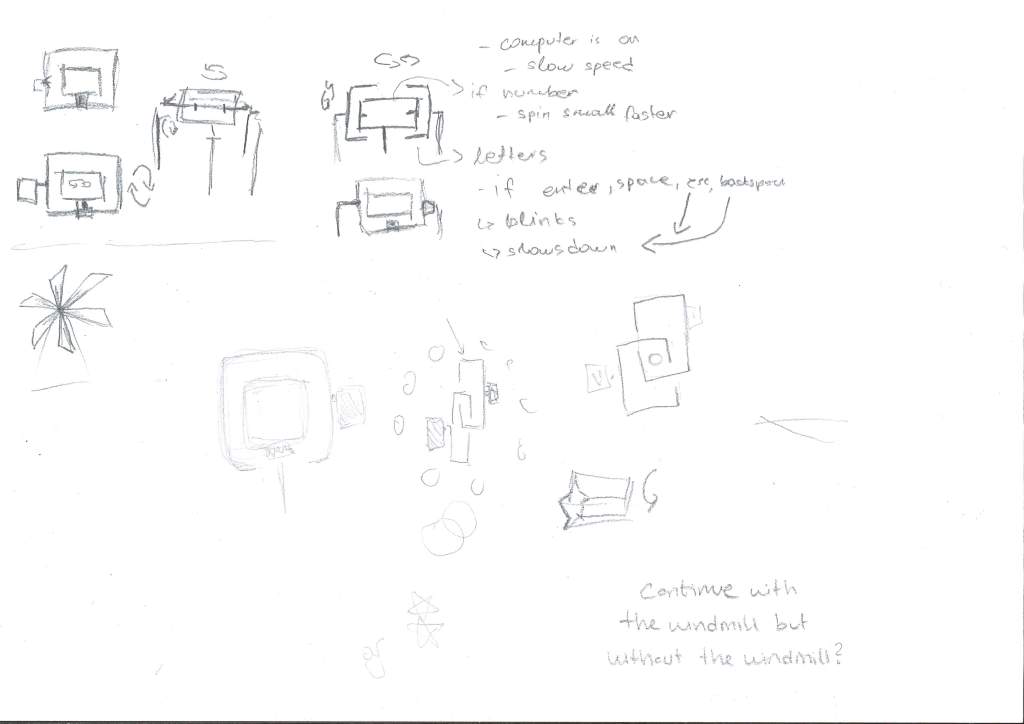
After ideating and figuring out how can we get over the physical obstacles, we signed up for coaching. Since we were running out of time, and there were few days to wrap up this project and present it to the show’n’tell, we did not want to risk and go with an idea the teachers might consider bad. We met up with Clint and showed him our inspiration video and the concept we want to go with. He told us to try and come up with more sketches and experiment with different materials, that might offer similarity to our concept. He suggested to use material between the objects which are connected to our servos and with that the spinning of the material would be a feedback for the typing speed.
Tuesday
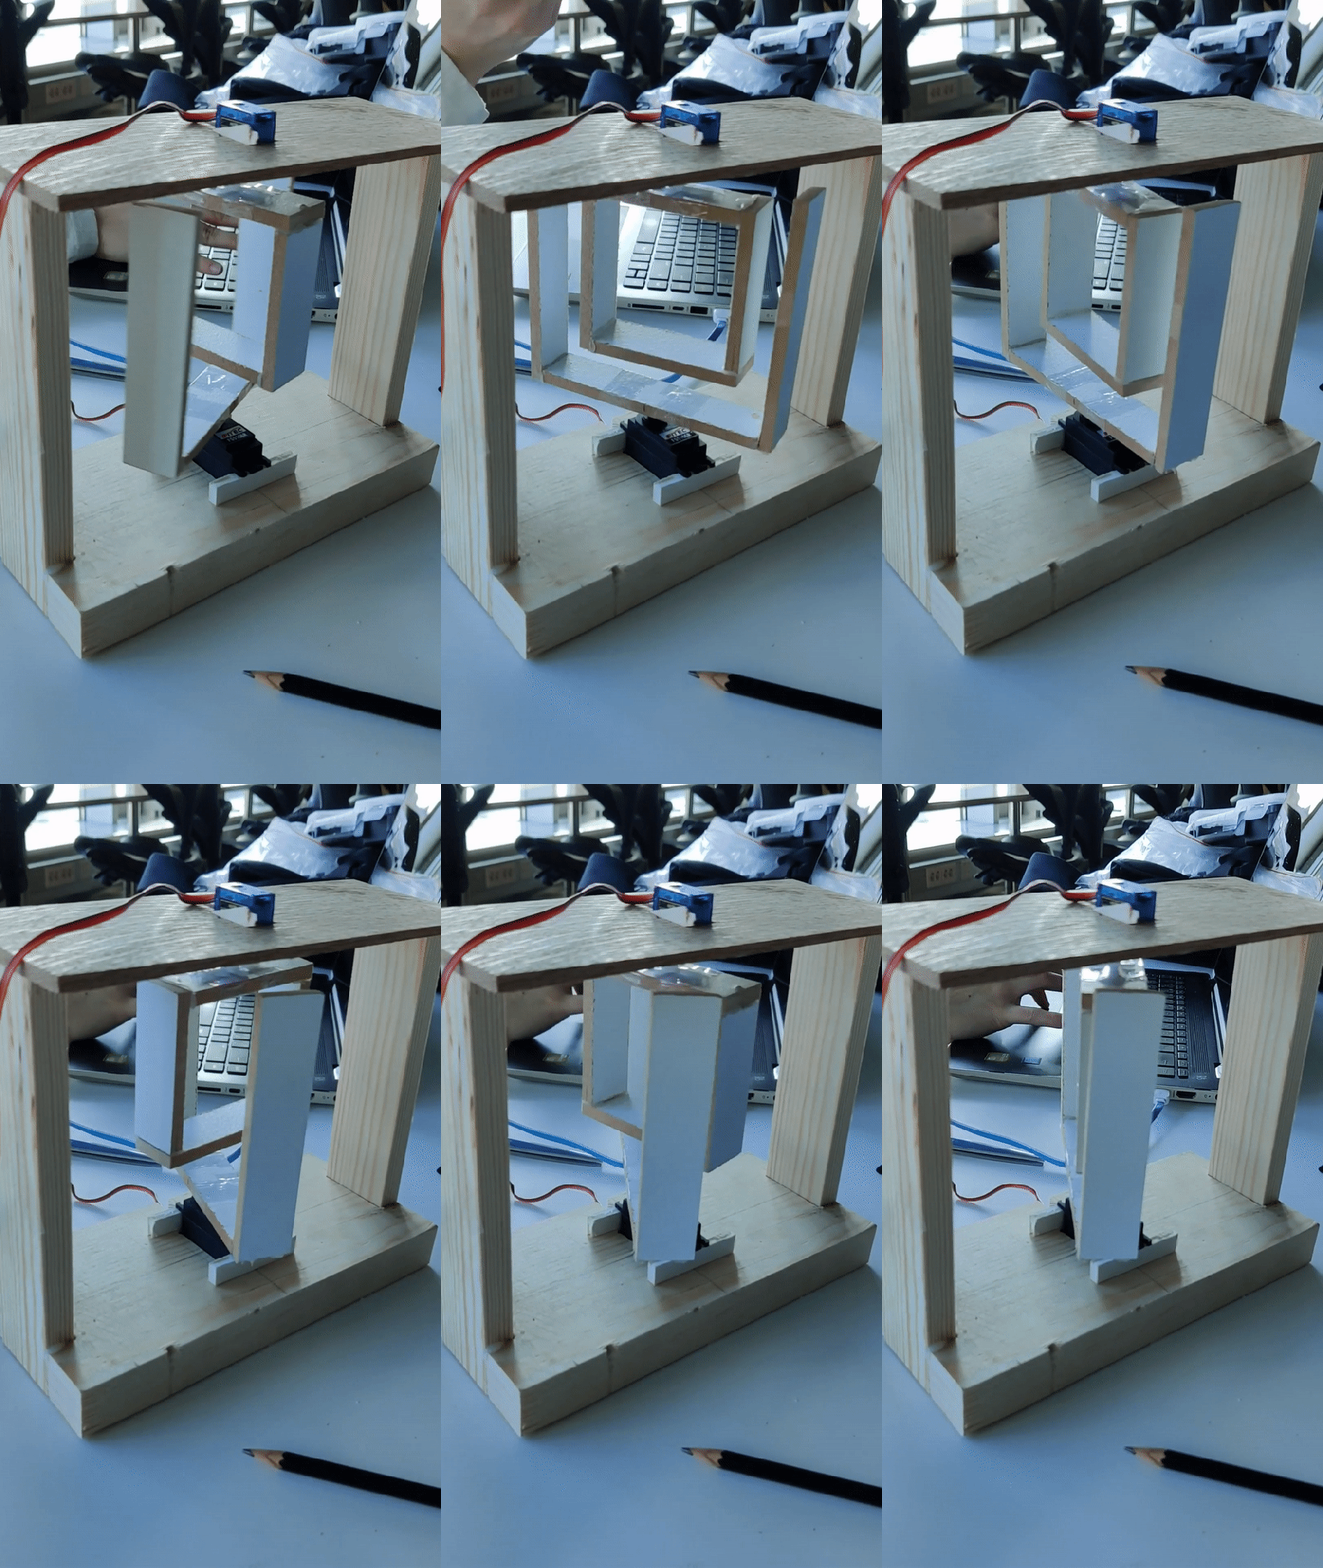
Since we needed a physical object, that will create a feedback, we spent the whole day working in the workshop. Since we needed to create a base where the servos can be placed and to offer support for the squares that will spin, we wanted to choose sturdy enough material. The best solution in that case was to create a wooden frame for the best support, but to begin with we chose to work with easier materials.
I am not sure what exactly the material is called, but it seems like it’s paper with the spongy middle. It was easily bendable and not very heavy, hence why easy to be used with small servos without causing too much pressure on the motor. Another positive side of it was how easy was it to cut and put together.
However things can also go very wrong. Since the material was not heavy was not much support and we couldn’t keep the balance well on our own.
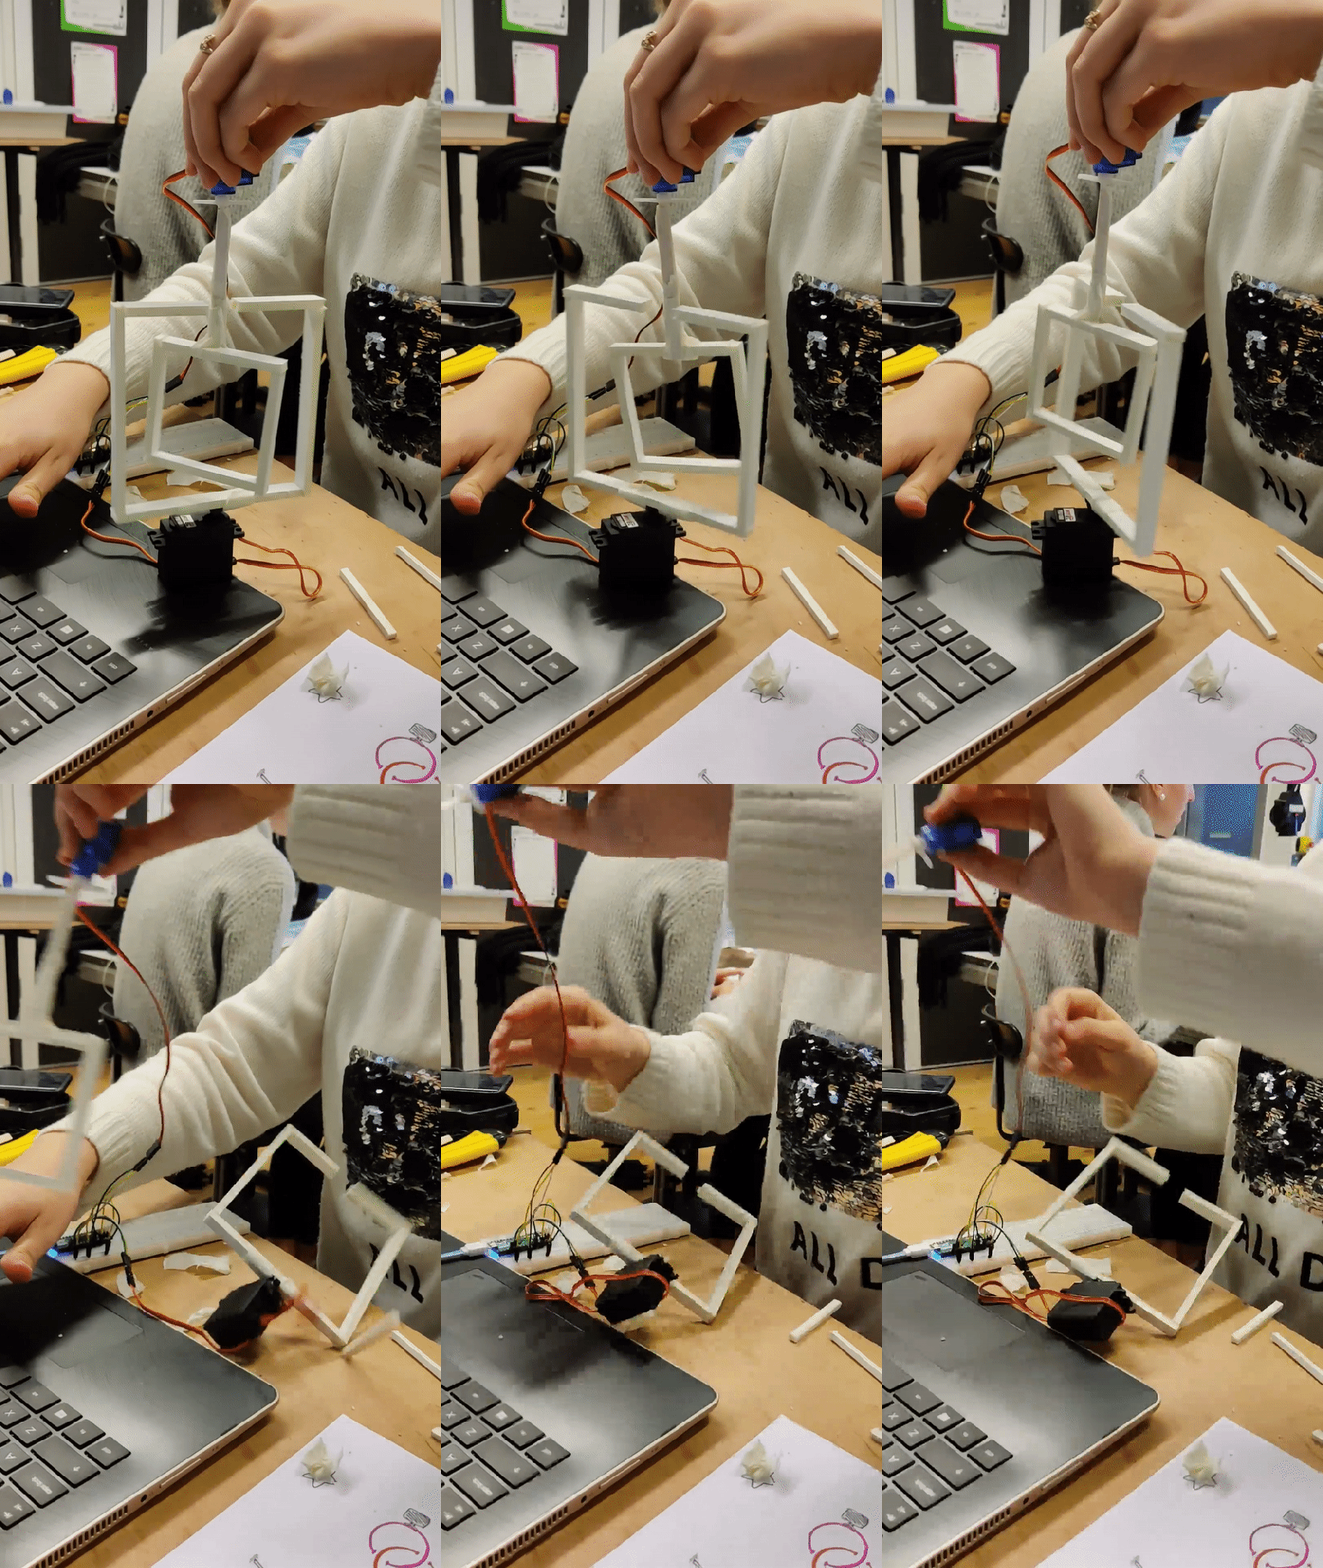
To solve the problem, of us not being able to keep the boxes balanced we decided to work on the wooden frame before we actually do something with the boxes and their different materials. Since we already have chosen to place the servos one on the bottom of the base and the other one on top, the only thing that was left to do was to choose work and place it together.
After putting everything together we realised few things.
- The material was too soft for this creations, mostly because if one of the servos move just a tiny bit, it creates a lot of problems. Problems such as bending part of the boxes, the boxes get tangled.
- The top part of the box, which was supposed to ‘close’ the bottom box, had to be removed mostly because, it affected the spinning.’
- Cables, should be somehow put aside, they can get tangled on the motors very easily.
At this point we replaced the soft material with wooden boxes. Since it was almost the end of the day, we decided to wrap it up for today and continue tomorrow with fixing the last piece of the code and making sure everything works nicely for the show ‘n’ tell.
Wednesday
Starting where we left off, the plan for today was to polish the last part of our prototype and the code that was working.
While Thanita was working on polishing the prototype, I focused on making the code to work more accurate and to actually present the typing. At the moment was working but with a delay that first counted how many times a letter was pressed then, based on the counter the speed was added to the spinning.
For us that was not really close to the idea we wanted to achieve. Given that we wanted to make the prototype, not spin only for the sake of spinning but rather, really grasp the experience of typing on a keyboard.
To separate the keys, I added few conditions which had to be fulfilled in order the prototype to spin. First I wanted to separate the keys like enter space and backspace. Each one of these represented different things
- Enter – A new start.
- When the user presses enter, the two boxes will move to a new position, signifying that the user started a new line or new starting point.
- Space – A new word.
- The code works based on the amount of typed keys. When the user presses space the counter which contains the number of letters is being reset. That counter is being used for the speed of the servo. The longer the word, the higher speed.
- Backspace – Going backwards
- Deleting characters makes the text cursor go backwards. We wanted to implement this in our code, when someone presses backspace the boxes to spin backwards, representing the going back part.
First the user types something, the program checks if the button that is pressed is any of the ones above, if not then it continues to the normal counter which increases or decreases the speed of the boxes based on the number or letters.
With that this was our final prototype
For future iterations, the servo motors can be replaced with ones without a cord. With that the possibility of adding a third axis would be possible. That axis can represent the difference like lowercase and uppercase letters.

 Pink Prototyping